Logo for Vitruvian Fitness of Wheat Ridge

The Secret Sauce of Functional Training

Tom Wigginton • March 23, 2024

What makes functional training functional?

Functional Training

The How and The Why behind our Functional Training Design.


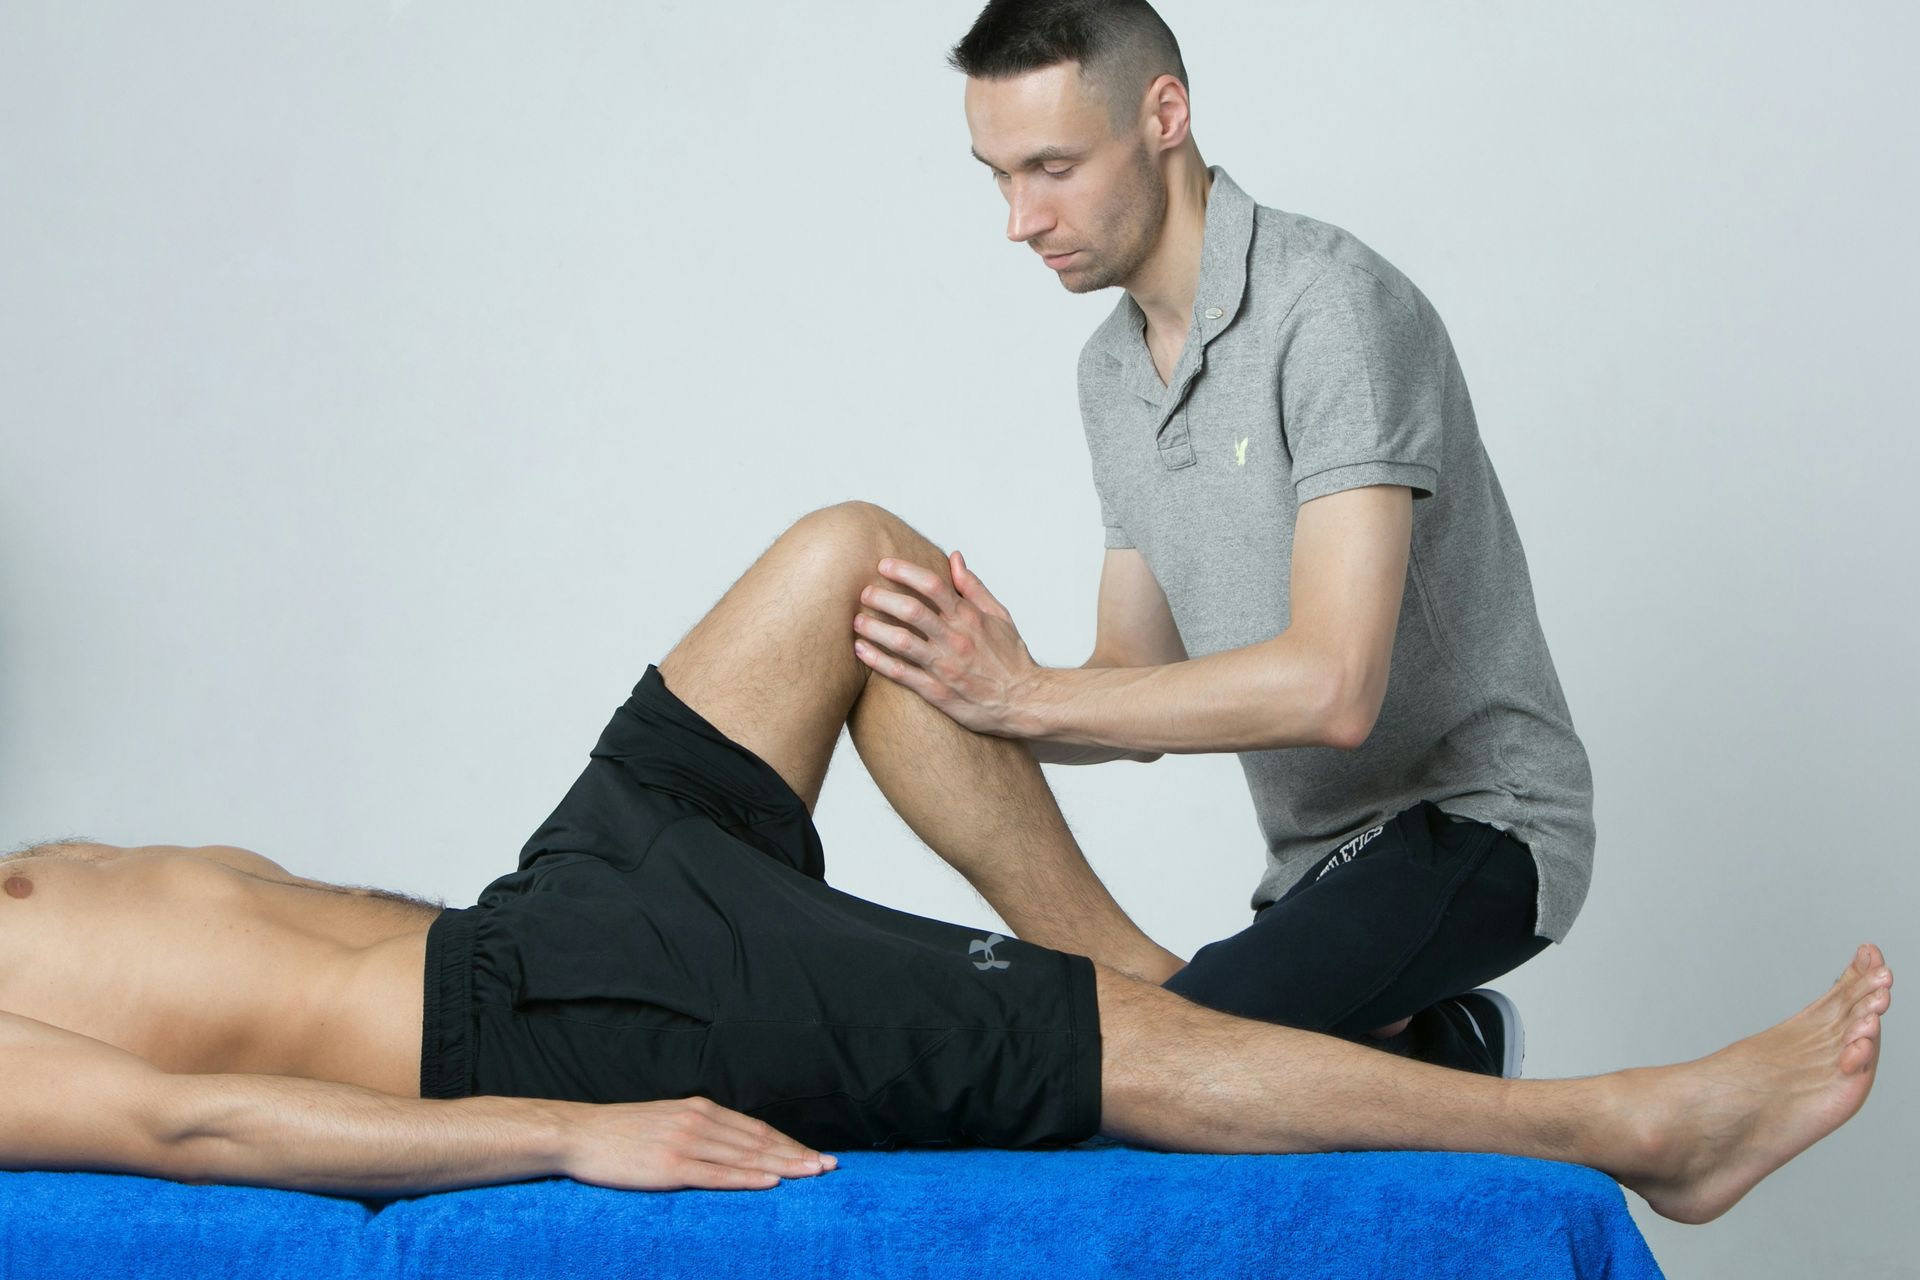
Let's start with our definition of functional training. Functional training is an ongoing exercise program (not just a single workout) with the purpose of improving the way you move everyday and live your life. It's equally useful for someone seeking to improve activities of daily living, as much as for someone trying to get better at their recreational activities, or for someone trying to reach the podium in a sporty competitive activity.


Layers of the onion.

At the most basic level, human movement can be placed in 3 movement categories: locomotion, manipulation, and striking.


  • Locomotion is moving yourself from one place to another - walking, running, riding, climbing, etc.
  • Manipulation refers to moving objects - pushing, pulling, lifting, and carrying things.
  • Striking is applying movement to objects to make things happen. In sporty activities think swinging rackets and clubs or kicking soccer balls. Around the house, think swinging hammers, chopping wood, or shoveling snow. Striking can also refer to punching and kicking in a combative sense.


The focus of the training is always on functional movement. So, our exercises are selected with the intent to move in patterns, not parts. Lifting and carrying objects, running across the street, or shoveling for example, all require an organized effort from multiple joints and muscle groups plus several other body systems such as the nervous, skeletal, endocrine, respiratory, and circulatory systems.


Exercise Categories.

The next layer of the onion is how we categorize specific exercises. And while each of these categories often focus on one joint, none of them ever act in isolation in functional training.


Categories:

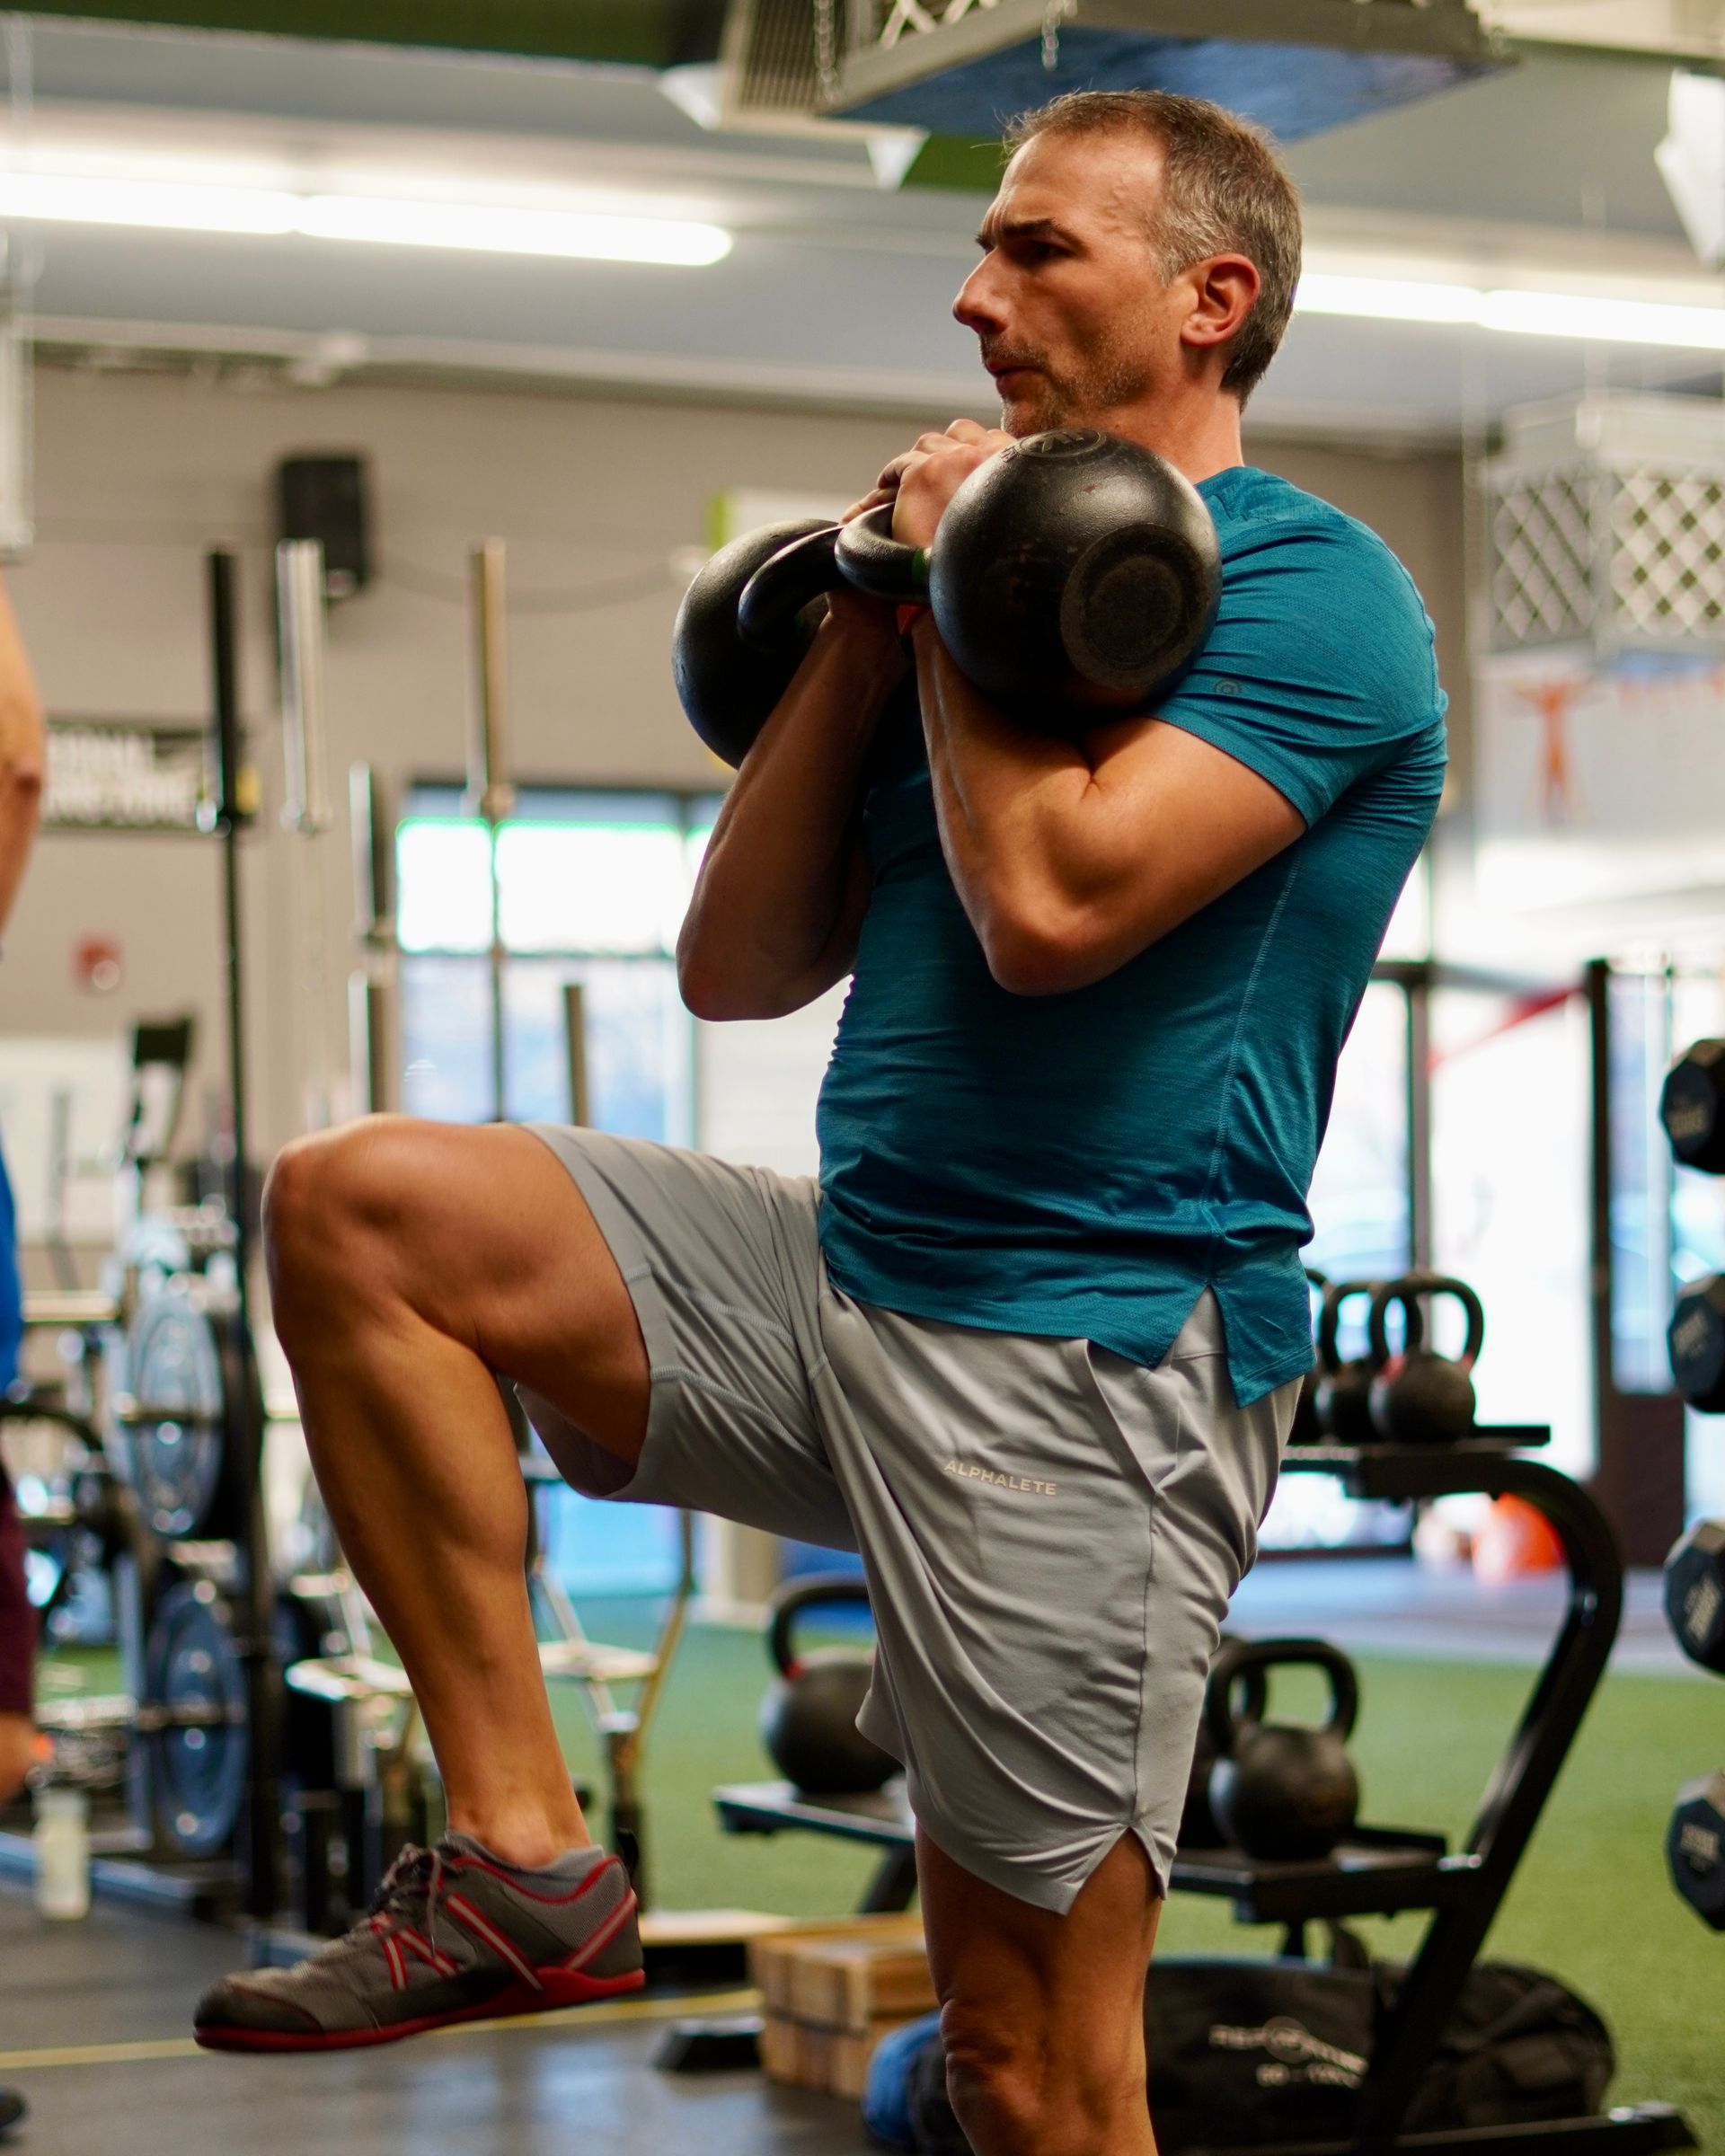
  • Knee Dominant - knee bending is the predominant action
  • Hip Dominant - hip hinging is the predominant action
  • Pushing - arms pushing objects away from the body
  • Pulling - arms pulling things toward the body
  • Rotating - this is twisting and twist-resisting


To illustrate the point that nothing exists in isolation, an exercise that is knee dominant (like a goblet squat) always recruits your core, your shoulders, your grip, your breath, your senses, your hormones, your blood, your bones, and all the muscles above and below the knees. But the big knee-bendy thing going on is how we categorize the movement.


Here's the secret combination.

Putting it all together, every workout in every training phase at Vitruvian Fitness will have the following types of exercises:

  • 1 Knee Dominant (e.g. squat or lunge)
  • 1 Hip Dominant (e.g. glute bridge or deadlift)
  • 1 Horizontal or Vertical Push (equal amounts over a period of time) (e.g. push up or overhead press)
  • 2 Horizontal or Vertical Pulls (usually one of each) (e.g. row or pull down)
  • 1 Rotation or Anti-Rotation (e.g. cable twist or Paloff press)


And because work without rest is a wasted effort, we rest between exercises. But we don't have all day, so we rest actively. That means we do a non-competing exercise while resting the parts that just did their work. For example, after doing a knee dominant exercise, we follow it with a push followed by a pull and so on, which lets the legs rest up for their subsequent efforts. By the time we've done a round of five or six exercises, each of the muscle groups get plenty of rest by the time it's their turn to go again.


Obviously there's a little more to it than that but once you've selected the different exercises, what's left to determine is complexity, volume, load, tempo, intensity, duration, and supplemental movement development. Easy right?


Here's an article about the different types of training phases and what each seeks to accomplish. And here's an article about balancing strength training and cardio throughout a typical week.


Why.

As you start to put all this together, you may begin to realize why life just seems easier and more fun. The hills don't seem so steep and high. The babies we're raising don't seem to be getting heavier even though we see them getting bigger. The fatigue after a weekend of yard work feels like a reward, not a punishment. After a vigorous game of sportsball, you feel like you could go again tomorrow. You look forward to the praise you receive at your annual check-ups. You look forward to new adventures.


Those are the benefits of functional training.


Curious to learn more?

We encourage you to do a 14-Day Trial Membership. In 14 days, you will get a private onboarding session that includes the Functional Movement Screen®, then unlimited semi-private training sessions doing the program we design based on that first session. And you’ll get to be a part of one of the most inviting, inclusive, and fun communities you’ll find anywhere. At the end of your trial, you get to decide if you liked it and if you want to continue with a regular 6-month membership. All the options and prices are on our Membership page.


Click here to sign up now!


Our facility is conveniently located on the northwest corner of Denver in beautiful downtown Wheat Ridge.

You might also enjoy these posts . . .

By Tom Wigginton March 9, 2025
Why Do We Foam Roll? Foam Rolling is good for you! It's like eating your broccoli for your muscles, connective tissues, and nervous system. It helps you move better and feel better. And when you move and feel better, the hard work of working out yields greater results. And when you get past the initial discomfort and difficulty of rolling various body parts (like IT Bands!), it really does feel good. What follows next are many of the very cool and somewhat nerdy things going on when you foam roll mindfully, thoroughly, with intention, and curiosity. Improving Flexibility and Movement Quality Foam rolling, a widely used form of self-myofascial release (SMR), helps improve mobility by reducing excessive muscle tension and promoting better movement patterns. By applying pressure to the muscles and surrounding connective tissue, foam rolling enhances flexibility and range of motion, making it a valuable tool for both performance and recovery. Foam rolling primarily addresses two common soft tissue restrictions: Adhesions – Areas where muscle and connective tissue become less mobile due to poor hydration, overuse, or microtrauma. Rolling encourages better fluid movement and tissue elasticity. Trigger Points – Small, hyperactive muscle knots where fibers stay contracted, limiting function. Rolling doesn’t physically break up these knots but instead signals the nervous system to relax the area. By improving these tissue qualities, foam rolling enhances movement efficiency and joint function, reducing compensatory patterns that may lead to injury. Enhancing Circulation and Recovery Foam rolling promotes increased blood flow, aiding in oxygen delivery, nutrient transport, and the removal of metabolic waste products from muscle tissue. This effect can support faster recovery, reduce soreness, and maintain tissue health over time. Improving Neuromuscular Activation By stimulating sensory receptors in the muscles and fascia, foam rolling enhances neuromuscular control. This can improve muscle activation and coordination, leading to better performance and more efficient movement patterns. Proprioception and Body Awareness Foam rolling provides sensory feedback that enhances proprioception—the body's ability to sense its position and movement in space. Improved proprioception leads to better balance, stability, and movement accuracy, which are critical for both athletic performance and injury prevention. Foam Rolling as a Warm-Up Tool While foam rolling is often associated with recovery, it also plays a key role in pre-exercise preparation. By improving tissue elasticity, modulating neural tone, and increasing blood flow, foam rolling can help prime muscles for activity. This makes it a valuable addition to dynamic warm-up routines, reducing stiffness and enhancing readiness for training. Preventing Injuries Through Regular Use Using foam rolling regularly allows individuals to identify tight or overactive areas before they develop into movement dysfunctions or injuries. Sensitivity in a specific area often indicates excessive muscle tension or imbalance. Addressing these issues early can prevent them from escalating into chronic problems. Optimizing Strength and Performance By reducing unnecessary tension and improving force transmission efficiency, foam rolling contributes to better movement mechanics and overall performance. When muscles function optimally, athletes can generate more power with less fatigue, improving training quality and long-term results. Supporting Posture and Musculoskeletal Health Many people develop muscle imbalances due to prolonged sitting or repetitive movements. Foam rolling can help alleviate excess tightness in overworked areas, promoting better posture and reducing stress on the joints. This is particularly important for individuals who experience discomfort from prolonged sedentary behavior. The Psychological and Sensory Benefits Beyond the physical benefits, foam rolling can have a relaxing effect by stimulating the parasympathetic nervous system. As muscles release tension, many individuals experience a sense of relief and improved well-being. The combination of proprioceptive input, deep breathing, and movement awareness can make foam rolling a valuable recovery and stress-management tool. Does Foam Rolling Change Tissue Structure? One arguable aspect of foam rolling is that it "breaks up" adhesions in muscle tissue. Some people says it does indeed. Others say that while it does improve tissue mobility, the main effect is neurological rather than structural. Foam rolling influences the nervous system to decrease muscle tension and enhance circulation, creating an environment where connective tissue can gradually adapt and remodel over time. Some also argue that because you're not stretching or lengthening your connective tissues, you shouldn't bother. But stretching isn't the point and we never said that's what we were trying to accomplish. How to Maximize the Benefits of Foam Rolling To get the most out of foam rolling, consider these evidence-based strategies: Move Slowly – Spend at least 30-60 seconds on each muscle group, applying steady pressure. Breathe Deeply – Deep breathing promotes relaxation and allows muscles to release tension more effectively. Pause on Tight Spots – If you find a tender area, hold pressure there for a few seconds until discomfort diminishes. Use Different Angles – Slightly shifting positions can target different layers of tissue and enhance the effect. Integrate Thoughtfully – Foam rolling should be part of a structured training plan, used before workouts for activation and after workouts for recovery. Choosing the Right Foam Rolling Tools A basic foam roller is often sufficient, but more specialized tools—such as massage balls, percussion devices, or resistance bands—can provide targeted relief based on individual needs. The right tool depends on factors like muscle density, sensitivity, and training goals. Conclusion: A Smart Approach to Tissue Care Strength training and athletic performance aren’t just about lifting heavier or moving faster—they’re also about preparing the body for optimal function. Foam rolling is a simple yet effective method to improve mobility, enhance muscle readiness, and promote long-term resilience.  Many individuals report immediate improvements in movement quality and reduced discomfort when foam rolling is used correctly. However, persistent pain despite proper soft tissue work may indicate a more serious underlying issue that requires assessment by a physical therapist or healthcare professional. Key Takeaways Monitor movement quality and address restrictions early. Apply slow, intentional pressure while maintaining controlled breathing. Use foam rolling strategically as part of a comprehensive training program. Combine foam rolling with strength and mobility work for best results. Train smart, recover well, and maximize your potential.
By Tom Wigginton February 28, 2025
For decades, the standard advice for managing sprains, strains, and soft tissue injuries has been the well-known RICE method — Re st, Ice, Compression, and Elev ation . This simple and memorabl e acronym has been widely accepted by athletes, medical professionals, and everyday individuals as the go-to strategy for reducing swelling and pain after an injury. However, recent research suggests that while some components of RICE remain valuable, the emphasis on rest and ice may actually hinder the body’s natural healing process rather than support it. Unless you spend countless hours reading about exercise, rehab, and performance, it might be natural to think that resting an injured body part and applying ice is a great way to recover. After all, conventional wisdom tells us that inflammation is bad, swelling is something to be avoided, and pain relief should come first. But what if we told you that your body’s natural response to injury—mild inflammation—isn’t the enemy, and that immobilization might actually do more harm than good?
By Tom Wigginton February 20, 2025
What having a bunch of friends helping you move has in common with functional training.
By Tom Wigginton February 12, 2025
Reboot Your Movement: The Power of Pressing Reset Our tagline is Move better. Get stronger. Feel Great. That's what we do. In that order. So when it comes to getting stronger, the most visible aspect of strength training is weight-lifting. The concept of progressive overload — increasing intensity, volume, loads, and other variables— is what makes you stronger. However, lasting progress starts with moving well first . High-quality movement leads to high-quality results. That’s why we incorporate two separate but complementary systems into our programming: The Functional Movement Screen (FMS) and Original Strength’s "Pressing Reset" into our programs. The gist of the FMS is to identify what we do well, what we don’t do well, remove or improve the not-so-good, and add more of the oh-so-great. We include the FMS in every new client’s onboarding session and every program is designed only after we establish a baseline movement capacity. The FMS tells us what needs improvement. OS Resets are one of the ways we achieve those improvements. In this post, let's dig deep-ish into Pressing Reset as a foundational tool for better movement. What is "Pressing Reset?” Pressing Reset is a system developed by Tim Anderson from Original Strength that ”reboots” your body's natural movement patterns—the ones we developed as babies—to restore reflexive strength, coordination, and mobility . These simple, yet powerful movements (like diaphragmatic breathing, head nods, rolling, rocking, and crawling) help improve the function of your neuromuscular system, allowing you to move with less effort. Movement is a continuous loop of sensory input, processing, and action. Your body senses the world around you (through vision, touch, balance, and proprioception), your brain interprets this information and sends signals to your muscles, and you move. Each movement creates new sensory feedback, helping your brain refine and improve coordination over time. At its most fundamental level, the way we move is controlled by our nervous system. When it functions optimally, we move smoothly and with little effort. When it doesn’t, we struggle with stiffness (neural inhibition), poor coordination (inefficient movement organization), and pain (pain). Let’s break it down. Stimulating The Vestibular System The vestibular system , located in the inner ear, is responsible for detecting motion, balance, and spatial orientation. It has direct connections to the central nervous system (CNS) , influencing how we perceive movement and how our body maintains posture and stability. Purposeful movement—especially head and body repositioning—can sharpen this system, improving coordination, posture, and balance. When we Press Reset, we influence the vestibular system by performing controlled movements that change head position and spatial orientation. These movements provide sensory input to the semicircular canals and otolith organs in the inner ear, which detect rotational and linear acceleration. This information is then relayed to the brainstem and cerebellum, which integrate it with visual and proprioceptive feedback to enhance balance, coordination, and movement efficiency . As a result, movements become better organized and posture improves which lead to better exercise outcomes. The Role of the Vagus Nerve and the Autonomic Nervous System In addition to influencing the vestibular system, Pressing Reset can also influence the autonomic nervous system (ANS) via the vagus nerve. The vagus nerve is the longest cranial nerve in the body, extending from the brainstem down to the abdomen and is a key regulator of the parasympathetic nervous system. It helps control involuntary bodily functions such as heart rate, digestion, and respiratory rate, playing a crucial role in promoting recovery, relaxation, and homeostasis by counterbalancing the stress-driven sympathetic nervous system. Essentially, it regulates the balance between rest and digest and fight or flight. Movements like diaphragmatic breathing, rocking, and rolling stimulate the vagus nerve, helping to calm the nervous system, reduce inflammation, and speed up tissue healing.(1) Stimulating the vagus nerve through resets has the additional benefit of speeding up recovery from injuries, reducing inflammation, improving neuroplasticity, and other cool neuromuscular adaptions.(2)(3) How We Use It at Vitruvian Fitness At Vitruvian Fitness, resets are a key part of our training philosophy. Here’s how we integrate them: Movement Prep Before Training: Resets help prepare the body for movement, reinforcing good posture and control. Done with intention, resets help prepare you for your workout so you move more easily and efficiently overall. During Rest Intervals: Resets are great to use as active recovery between big lifts that require extended rest intervals. We can also use resets to "course-correct" when form breaks down, improving movement quality in real time. For Recovery & Longevity: Performing resets at home between workouts can accelerate recovery and improve daily function. The Resets: Simple and Powerful They are so simple, even a baby can do them! Actually, that’s who we learned them from. Breathing – Lips closed, tongue pressed to the roof of the mouth, inhale and exhale through the nose. Practice this method of breathing throughout all the resets. Head Nods and Turns – Lead with your eyes, then your head, while breathing properly. Rolling – Move your body in various directions while maintaining controlled breathing. Rocking – From a hands-and-knees position, shift back toward your heels and return. Connecting the X – Engage cross-body movement patterns like: Cross Crawls – Alternating opposite hand-to-knee taps. Crawling – Move across the floor with contralateral limb coordination (like a baby). Marching and Skipping – Add cross-crawls for enhanced coordination. The Golden Rules of Resets: Always breathe correctly. Never move into pain or discomfort. Follow rules #1 and #2—no exceptions! Watch a demonstration of each of the resets on our YouTube Channel. 
By Tom Wigginton January 2, 2025
The Vitruvian Fitness Method to learn the Perfect Push Up The Perfect Push Up is an expression of strength that demonstrates serious determination and movement organization. Plus it comes with, in my opinion, more self-satisfaction than any other exercise after the Perfect Pull Up. Part 1 - The Set Up The position of the arms and shoulders is most important. Begin by lying face down on the floor and imagine looking down at yourself from directly above. You are going to make the shape of an arrow with your body. Place your chin at the imaginary point of the arrow with your upper-arms positioned at 45º to your torso and your hands directly below your elbows. If correctly positioned, your forearm will be pointed straight down or perpendicular to the floor. Looking down at yourself, you should look like a straight arrow with your arms flared out 45º. The reason for this is because when your arms/shoulders are in the 45º position, the joints and muscles are at their medium-est positions which, in simple terms, means they are positioned optimally to recruit all the muscles to help with the pushing up. It’s also healthier for your shoulders since you’re not rubbing up against any end ranges of motion. Next, drop your heels back and try to tuck your toes under your feet so your weight is resting on the balls of your feet. If your toes don’t bend that far, it’s ok but you’ll want to wear shoes. Whether your toes bend that much or not, you’ll still want to drop your heels as far back as you can. When you drop your heels, you’ll feel how your quads engage which is part of organizing your core to be as stiff as possible for the upcoming movements. After all, a Push Up is just a great plank with elbows that flex and extend. So, a solid plank is the precursor to the Perfect Push Up. Part 2 - Getting Stronger Push Ups are hard and take strength and good posture. Keep reminding yourself why you’re doing these - because people who can do great push ups have a lot to be proud of. In this part, we’re going to focus on the “down” phase of the Push Up. This is also known as the eccentric phase. It’s pronounced EE-sen-trick. (Not ECK-sen-trick like your goofy uncle.) It doesn’t sound intuitive at all but you can actually build strength faster by focusing on a very slow descent from the top of your ever-improving plank to the floor. So, get into the arrow position as described above and then get up into a high plank position by any means necessary. It literally doesn’t matter how good or bad it looks - just get to the top. Make sure your feet and hands don’t move out of their positions though. This is important. While maintaining your perfect plank – head, neck, core, hips, quads, feet all as stiff as a board – slowly lower yourself to the floor counting 5 Mississippi OUT LOUD along the way. When you reach the floor, take a breath and recommit to doing another 1. Repeat. Do this for a total of five 5-Mississippi Top-Down Push Ups. This all takes about 1 whole minute with 3-5 second rests in between each repetition. You’ve got 1 minute, don’t you? NOTE: You may not do these from your knees. They can only be done from your toes. Are they hard? Yes they are. You got this. NOTE 2: If you can’t time the descent to last 5 whole Mississippi’s, that’s OK. You’re still going to count out loud. If you get to the floor at 3 Mississippi, that’s fine. You’ve got 2 more Mississippi’s of strength to build. And these are hard enough that you might not be able to hold any Mississippi’s on your 5th rep. That’s OK! You know exactly where you are and what you’ve got left to gain. Start there and work on getting stronger. Once you’ve done five 5-Mississippi Top Down Push Ups, you’ve accomplished something terrific. Part 3- Repetitions The reason we never do Push Ups from our knees is because the difference between our knees and our toes is about 20 inches of body-length and that’s actually a huge jump in difficulty. Imagine if you were doing biceps curls with a 5 pound weight and then suddenly you had to do them with 25 pounds. (It’s not actually the same thing but the difference feels equally abrupt.) So, instead of doing Push Ups from the knees, we do them on an incline that we can gradually decrease which makes the Push Ups from our toes do-able and we can get in a lot of repetition. If you have stairs in your home, this will be super easy. In a gym, you can use a barbell in a squat rack, a smith machine, or anything you can get your hands on and gradually get lower. We’re going to use a “rep range” of 8-12 reps. This is important because this is how you’ll know when it’s time to increase the challenge. Your set up is the same as before - upper arms at 45º to your torso with your forearms pointing straight down and your heels dropped back. However, instead of your hands being on the floor, they're on the 5th or 6th stair up from the bottom. In this position, do as many push ups as you can stopping at 12 if you get there. If you couldn’t get to 8 reps, reposition your hands on the next stair up. If you did get to 12, reposition your hands on the next stair down. You’re seeking the stair where you can do at least 8 Push Ups but not 12. Can’t do 8? Make it easier. You can do 12, make it harder. Once you find that stair, keep working until you can do 12 Push Ups. That’s when you drop down a stair. Every time you get to 12, you drop a stair until you’re doing Push Ups with your hands on the floor. But what if you can do 12 Push Ups from one stair but you can only do 6 from the next one down? That’s OK! Do all the Perfect Push Ups you can do on the lower stair and then move back up one to finish the set. When the day comes that you can do 12 Push Ups from your toes and your hands on the floor, you’ve accomplished something so awesome. Congratulations! Be dedicated to the process and be kind to yourself. You got this. Curious to learn more? We encourage you to do a 14-Day Trial Membership. In 14 days, you will get a private onboarding session that includes the Functional Movement Screen® , then unlimited semi-private training sessions doing the program we design based on that first session. And you’ll get to be a part of one of the most inviting, inclusive, and fun communities you’ll find anywhere. At the end of your trial, you get to decide if you liked it and if you want to continue with a regular 6-month membership. All the options and prices are on our Membership page. Click here to sign up now! Our facility is conveniently located on the northwest corner of Denver in beautiful downtown Wheat Ridge.
Cardio vs. Strength
By Tom Wigginton June 20, 2024
How do you know how much of each to do? This is a great question. It may not surprise you that the answer is, "it depends." Some people love doing cardio. Some people love lifting weights. Some people dislike both. The short answer to this question, obviously, is both. Do both. Lots.
Show More
Share by: